
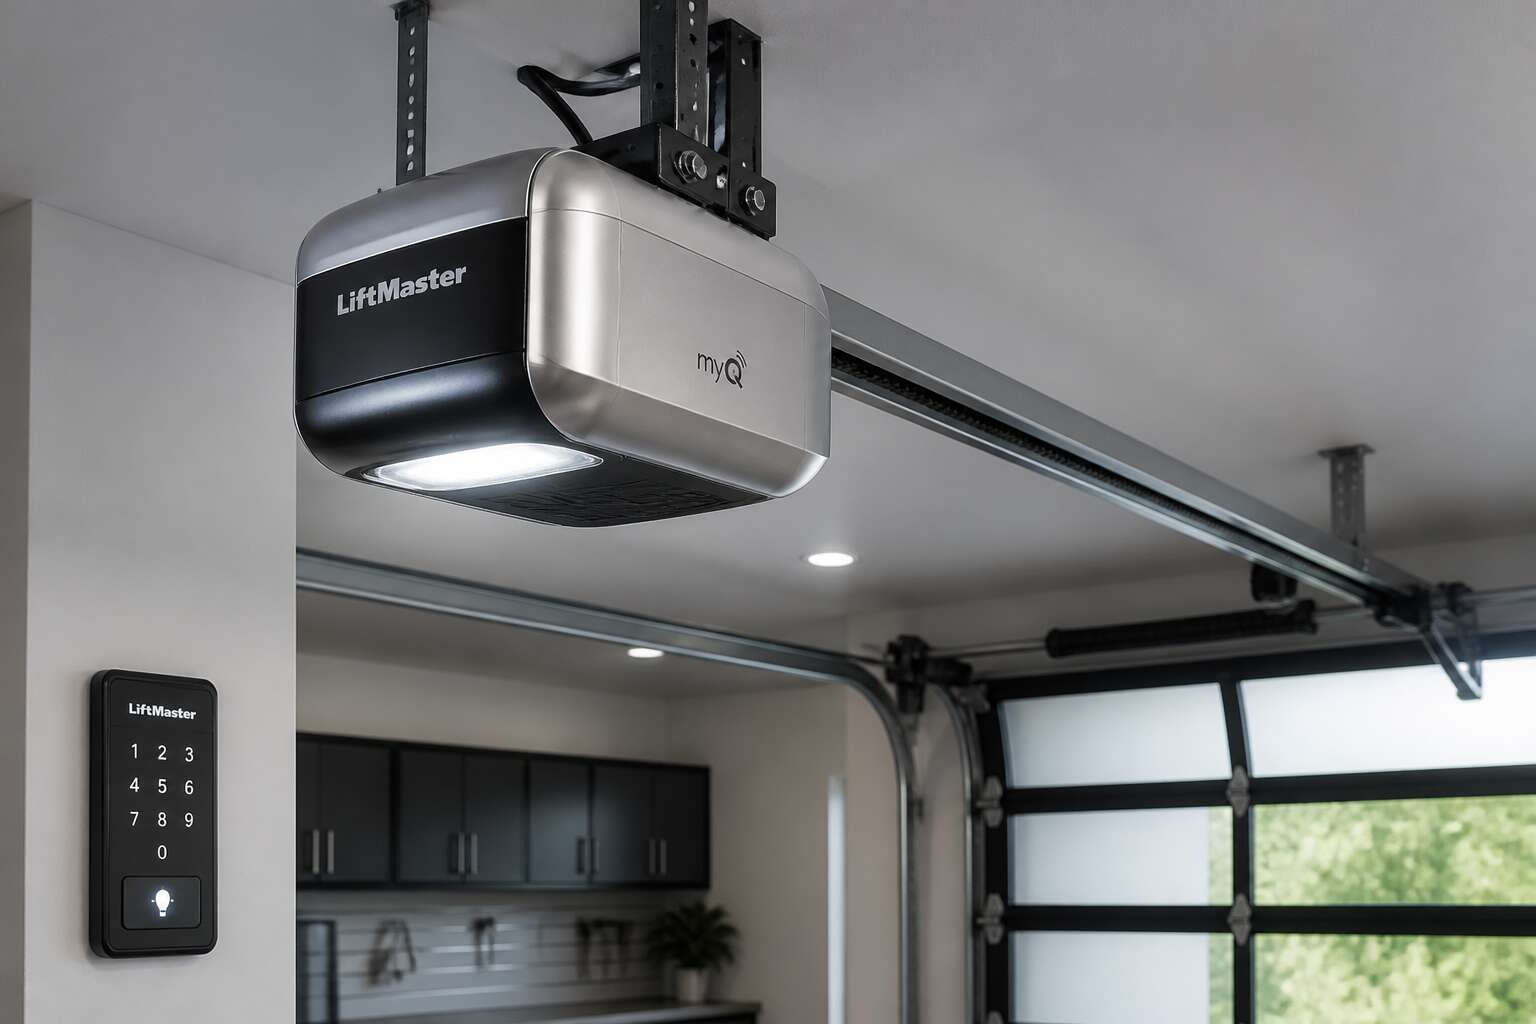
Understanding the Core Components
The Drive Mechanism
The drive mechanism defines how your garage door motor and track perform together. It converts rotational force into linear motion, moving the door along its path. In South African homes, where power surges are common, the drive’s resilience matters as much as its speed. I have seen too many systems fail because the drive was not matched to local conditions.
Here is a quick look at the primary drive systems:
- Chain drives, durable but noisy
- Belt drives, quieter and smoother
- Screw drives, low maintenance but sensitive to temperature
Each system interacts with the track differently. The motor’s gearbox and sprocket determine how much torque reaches the trolley. A mismatched setup causes jerky movement and premature wear. Understanding this interaction helps you choose a reliable combination for your property.
The Torsion Spring and Cables
A single garage door exerts upwards of 100 kilograms of force, and a torsion spring is the only thing keeping it from crashing down on your car. When that spring loses temper, the cables strain and the garage door motor and track take the brunt. In South Africa, heat and irregular power supply accelerate steel fatigue. I have seen springs snap cleanly, leaving the motor to haul the load alone.
The system depends on a balance:
- Cable length decides how far the door travels
- Spring winding determines the counterweight
- A mismatched pair causes the garage door motor and track to strain
The Track System and Rollers
A track can look perfect and still be off by a half-centimetre. That tiny misalignment transfers stress to every roller and eventually to the garage door motor and track. The track system is a steel channel that guides the door’s movement. It is not complicated, but it must be straight.
Rollers are the wheels that ride inside the channel. They absorb the daily wear. In South Africa, coastal salt and construction dust wreck roller bearings fast. A seized roller makes the motor jerk and overwork!
- Listen for a squeaking or grinding sound
- Feel for wobble when the door passes
- Measure the gap between the track and the wall
That noise is a warning. The track does not wear out quickly, but it bends from impact or rusts at the bolts. When the geometry shifts, the door drags. The garage door motor and track then face uneven load. You notice the drive slowing long before a breakdown.
The Motor Unit and Safety Sensors
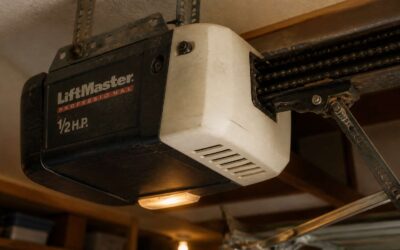
The garage door motor and track endure more load shifts in a month than a car suspension does in a year. That strain concentrates in the motor unit, a compact assembly of a gearbox, a drive sprocket, and a control board. The gearbox turns electrical power into torque. The control board governs speed and direction. In coastal towns like Durban, humidity corrodes the internal contacts. Inland, dust clogs the cooling vents.
Safety sensors rest near the floor, one on each side. They emit an infrared beam across the opening. When the beam breaks, the motor reverses. A misaligned sensor, often knocked by a bicycle or a broom, stops the door from closing. Spiders and geckos also cause false reversals. These sensors depend on the garage door motor and track functioning smoothly, yet they need a clean line of sight. A dry cloth keeps them alert.
Choosing the Right System for Your Garage
Matching Horsepower to Door Weight
A 2024 survey in Gauteng revealed that one in three garage doors runs on a motor too weak for its slab. That is how you get a ceiling rattle and a motor that smells like burnt toast! The fix is not complicated, but it requires honesty about your door’s weight. Choose your garage door motor and track as a pair, because the motor’s torque and the track’s rigidity must match. Consider these typical figures:
- A single steel door, 8 by 7 feet, weighs around 80 kilograms. Use a 0.75 horsepower motor.
- A double wooden door, 16 by 7 feet, can hit 150 kilograms. Use a 1.5 horsepower motor.
- An insulated aluminium door, lighter than it looks, needs only 0.5 horsepower.
Your garage door motor and track will thank you for not overworking them. Weight is the only honest metric in this equation, so measure it before you commit.
Drive Types: Chain, Belt, and Screw
Chain drives are robust and straightforward, but they can be loud. Belt drives run smoother, yet they stretch and need periodic tensioning. Screw drives convert rotary motion into linear travel with almost mechanical exactness, though they are seldom seen in residential settings.
Each drive type interacts differently with your garage door motor and track. Mismatched parts cause strain, uneven movement, and premature wear across the whole assembly.
- Chain: durable, audible.
- Belt: quiet, requiring maintenance.
- Screw: precise, uncommon.
In South Africa, many homeowners stick with the original drive system. That is fine, but know what you have before replacing it. An informed choice keeps your motor and track in step.
Track Curvature and Lift Options
Some builders in South Africa default to a standard radius curve, but that choice shapes every subsequent repair. Track curvature dictates how far the door travels before it bends.
The garage door motor and track need to share this geometry. A motor calibrated for a standard arc will fight a high lift system; this strain travels to the traveler assembly. Headroom is the deciding factor. High lift requires more clearance above the opening, but it reduces the force needed to move the door.
Three lift configurations dominate the local market:
- Standard lift with a gentle, continuous arc.
- High lift, which rises straight up before curving.
- Vertical lift, using a fully straight track.
Each demands a specific motor travel limit and torsion spring setting. Ignoring that relationship leads to premature failure of the garage door motor and track.
Smart Features and Connectivity
According to a 2023 Primedia survey, 68% of South African homeowners demand remote access to their garage, yet they rarely inspect the connectivity hardware. The garage door motor and track must accept a receiver that speaks your home’s language. Load shedding forces the real decision. Do you choose a battery backup or a GSM module that operates when the router is dead? This choice dictates the control board, not the mechanical components.
Consider these connectivity options:
– Wi-Fi modules linked to your existing router
– GSM sim cards for coverage during outages
– Bluetooth proximity for direct phone access
I see installers pair a premium track with a motor that only offers a basic remote. That is a waste. The track geometry is fine, but the motor’s logic board rejects your automation hub. Choose a system where the garage door motor and track share the same digital ecosystem, otherwise your smart device becomes a silent ornament.
Installation and Alignment Best Practices
Preparing the Garage Ceiling and Header
A misaligned header accounts for a third of garage door motor and track failures, yet most homeowners skip this step entirely. Preparation is the quiet foundation of a smooth system.
Before mounting anything, inspect the ceiling joists and header beam for signs of rot, cracks, or water damage. The header must be level and plumb, or the entire mechanism will bind. I always check the clearances twice, because a tight fit here turns into a loud grind later.
For a typical installation, follow this sequence:
- Measure the header height from the floor to the lowest point.
- Shim any gaps between the header and the mounting bracket.
- Reinforce the wood with lag bolts rated for the door’s weight.
A solid header absorbs the torque from the springs, keeping the garage door motor and track in proper tension. Without that anchor, even the best motor will fight itself. Take the extra hour now, and you save years of rattle and drift.
Mounting the Motor and Rail
Mounting the motor to the rail requires patience. The rail must sit parallel to the door’s horizontal track. A misaligned rail creates binding and premature wear. I use a bubble level and shims before tightening any bolts. The alignment governs the system’s smoothness.
- Slide the motor onto the rail.
- Align the drive sprocket with the chain.
- Torque bolts to specification.
Check the rail’s cant. A slope toward the front makes the chain slap. Adjust tension so the chain deflects half an inch. The garage door motor and track rely on this balance. A true rail lets the motor hum. A crooked one shortens its lifespan. I test the emergency release each time!
Aligning the Track and Tensioning the Belt
Track alignment demands attention to the vertical plane. I run a straight edge along the roller path and check for deviations at every bracket. A few millimetres of distortion create strain on the garage door motor and track. Belt tension follows the same logic. Over tightening stretches the belt; under tightening lets it skip under load.
The checks run in a fixed order:
- The vertical tracks get a plumb bob reading before lag bolts are finalised.
- The belt sits centred on the drive sprocket before the tensioner is locked.
- The full travel cycle gets observed from both ends of the rail.
The sequence matters because a twisted rail forces the belt to bind against the carriage. I tension the belt to a centimetre of deflection at the midpoint. The garage door motor and track settle into consistent operation after several full cycles, so I revisit both settings a week later.
Testing Safety Reversal and Limits
Safety reversal testing should unsettle you. Place a 40mm block beneath the closing door and the garage door motor and track must reverse instantly. If the door hesitates or presses through, the problem lives in the force settings, not the hardware. The balance of the door, checked before any test, determines whether the reversal works at all.
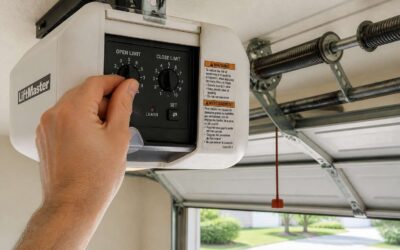
Limit switches deserve their own ritual. The open limit should stop the door with a finger’s width of clearance above the header. The close limit should let the bottom seal compress evenly against the concrete, not crush into it. After adjusting either limit, the force adjustment must be retested from scratch. A door that reverses on its own during a close cycle is a door crying for intervention, not a fault to ignore.
The sequence I use:
1. Verify door balance by disconnecting the trolley.
2. Test the safety reversal with the block.
3. Adjust limits, then retest.
The garage door motor and track either respond correctly or they condemn themselves.
Routine Maintenance for Longevity
Lubricating Moving Parts
The first screech from your overhead assembly is often mistaken for a mechanical failure, but it is actually a cry of dryness. I have seen a decade-old garage door motor and track regaining its original resilience after a simple lubrication ritual. Friction between moving metal parts taxes the system, accelerating wear on bearings that should outlive the masonry.
South African dust and coastal humidity strip away the protective film faster than manufacturers anticipate. Regular attention to pivot points and hinge pins becomes the difference between a quiet system and a noisy struggle. My approach involves applying a liquid grease that seeps into the finest crevices.
– hinge bolts and wheel axles
– the drive chain or screw threads
– bearing plates on the shaft
Neglecting this routine invites a gradual decline in performance, where every cycle of the garage door motor and track demands more energy and patience than the last.
Inspecting Cables and Pulleys
Once the lubricant has settled, the next scrutiny falls upon the cables and pulleys. These deliver the torsion spring’s tension to the bottom brackets. I have found that coastal corrosion begins at the cable’s crimped terminals, not the visible length! A single rusted strand can snap without warning.
Inspect the pulleys for a wobble in their rotation. A worn bearing will feel rough under a fingertip, and the groove will develop a flat spot that eats at the cable’s braid.
- Check for broken wires protruding from the cable’s core.
- Look for uneven wear on the pulley’s groove.
- Ensure the cable’s loop at the bottom bracket is not stretched.
When the cables wear evenly, the garage door motor and track performs a balanced lift. When one side lags, the entire frame bears the strain.
Cleaning and Adjusting the Track
Dust settles inside the track’s radius over time. The garage door motor and track depend on clean rails to keep rollers moving freely. I wipe the inside flanges with a dry rag each month, then run a scraper along the base to dislodge compacted grit before it wears a groove into the roller path.
Track adjustment goes beyond the initial alignment. After heavy storms, the mounting brackets can shift from the ceiling joists. I check the track with a spirit level at several points, especially near the top curve. A track that has dropped even a few millimetres on one side makes the door strain on every cycle. A loose bolt here, a shim pulled out there, and the whole garage door motor and track setup labours under uneven load.
The gap between the two vertical sections must match the roller width precisely. A twisted track shortens the life of the entire system, and the wear shows first on the roller bearings.
Replacing Worn Rollers and Hinges
A single worn roller can add hundreds of kilograms of strain to the garage door motor and track every cycle. The nylon wheels develop flat spots that thump against the rail, while hinge pins elongate their sockets until the door panel twists. I replace these components in pairs, never individually, to keep the load balanced across both vertical tracks.
When I inspect a door, I look for specific warning signs before they cause a breakdown:
- Visible cracks or chipped edges on the roller wheels.
- Excessive play in the hinge joints when you wiggle the panel.
- Uneven wear on the roller bearings that leaves a metallic dust residue.
Catching these faults early protects the entire assembly. A door that rolls on fresh rollers requires less force from the motor, reducing heat buildup and extending the life of the gear train. The garage door motor and track rely on this routine diligence to avoid sudden jams during the high winds common in coastal South African suburbs.
Common Issues and Troubleshooting
Motor Runs But Door Doesn’t Move
A humming motor with a stationary door is a peculiar failure. It means electricity reaches the unit, yet the mechanical force never transfers. This disconnect often hides in plain sight within your garage door motor and track arrangement.
Check these components first:
- The drive coupler, a plastic or metal connector that can shear after years of use.
- The limit switch, which might signal a false stop position before the door moves.
- The chain or belt tension, if it has slipped off its sprocket entirely.
In my experience, a stripped gear inside the gearbox is the usual culprit. The motor spins happily while the gear rotates uselessly against itself. A quick visual inspection of the coupling area saves hours of guesswork. Always disconnect the power before probing the track or motor housing.
Track Misalignment and Binding
When a garage door binds, the motor strains and the track resists. Track misalignment rarely announces itself. It creeps in through loose brackets, shifted header anchors, or a concrete floor that settles unevenly over the Highveld summers.
Binding happens when the rollers force themselves against the track’s inner edge, often because the vertical and horizontal sections no longer share a plane. You can hear it in the motor’s pitch. The garage door motor and track work as one system. A millimeter of deflection in the rail becomes a full stop at the rollers.
- Check the gap between the track and the door panel on both sides.
- Look for polished spots on the track surface; they indicate friction points.
- Confirm the track hangers remain perpendicular to the wall.
A binding door does not fix itself. It wears down the motor’s gears until the next failure is mechanical rather than positional.
Noisy Operation and Vibration
A noisy garage door is a diagnostic tool, not just an annoyance. Grinding points to worn gears inside the motor head. A low rumble often means the motor unit has worked itself loose from the ceiling mount. Vibration travels through the rail and into the house. It rattles windows and disturbs the quiet of a Highveld morning.
Loose fasteners are the usual culprits. The constant stopping and starting of the door creates a tremor that slowly backs out bolts. This is where the garage door motor and track demand attention.
- Inspect the motor bracket bolts with a spanner, not just by hand.
- Check the rail joint where sections meet for a step or gap.
- Listen for a rattle that fades when you touch the rail; that pinpoints the source.
Excessive vibration shortens the lifespan of the motor’s internal components. A quiet run means the system is doing its job without wasted energy.
Sensor and Remote Control Failures
Sensors and remotes fail in ways that mimic mechanical faults. A door that reverses halfway could be a sensor alignment issue, not a track problem. Dirt on the lens or a loose bracket that shifts the beam by a few millimetres is often enough to trip the safety circuit.
When the remote stops working, check the obvious first. Dead batteries, corroded terminals, or a signal blocked by the metal frame of the motor head.
Here’s a checklist that solves most issues:
- Clean the sensor lenses with a dry cloth
- Tighten the sensor brackets and check alignment
- Reprogram the remote after replacing the battery
The receiver inside the motor unit can lose its memory during power surges, common in Highveld storms. The garage door motor and track will react to a new remote code only after you clear the old one.
When to Call a Professional
Some problems sit beyond the homeowner’s toolbox. The garage door motor and track system carries immense tension, especially at the torsion spring. A snapped cable or a bent track section demands professional hands.
Electrical faults inside the motor unit, like a burned circuit board, require proper diagnosis. Guessing here wastes money!
Call a professional when you notice:
- The door moves unevenly and scrapes along one side
- The motor hums but the trolley disengages unpredictably
- Visible gaps appear between track sections
These signs point to alignment and tension issues that worsen with each cycle. A licensed technician measures, adjusts, and tests the full system. That inspection costs less than a replacement door panel or a serious injury.

0 Comments